


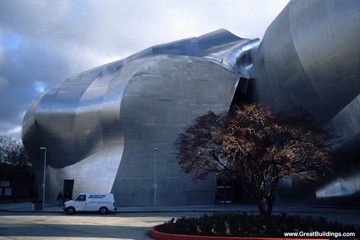
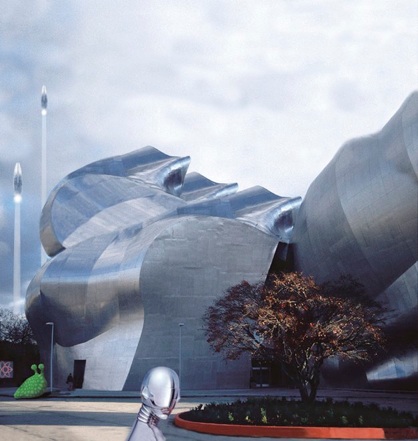
The image on the right was used in my Alien World brochure. I started with a photo of an actual building shown above. Then I brightened it up and removed distracting elements like the van, signs and trash can. I added onto the building and sky to make the image more vertical to fit the space required. To create the alien I made a maquette sculpture of clay, photographed it, removed the background, added a drop shadow and applied color and pattern. The robot head and rockets were cut from other pieces of art. The tiny poster was created in Illustrator and the rocket contrails in Photoshop.
The woman required more fill light. Many layers and blend modes were used to smooth and color her skin tone. I whitened her teeth and enhanced the soft detail in her hair. I also intensified the color and contrast in her shirt.


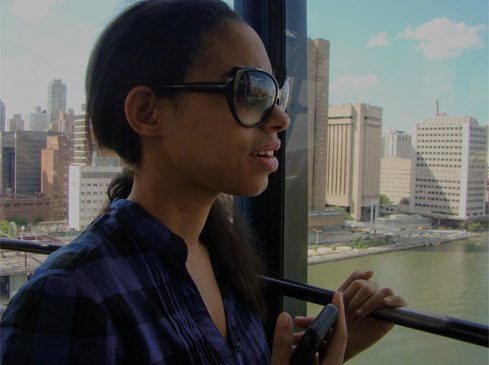
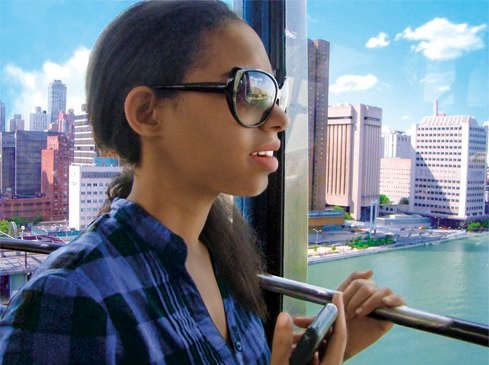
Retouching this photo required separating the different areas with sophisticated masks in Photoshop.
Each section needed different adjustments. The sky and the water were individually color corrected, taking out the yellow tint and intensifying the blue. Camera Raw editing was used on the clouds and the buildings to recover lost detail. The city had to have the buildings de-fringed as well as sharpened slightly. Vibrance was increased to bring back the color of the buildings.
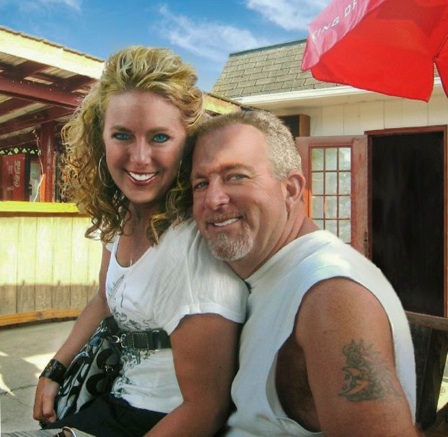
To the right is the retouched result. In Camera Raw I added fill light to the woman’s face and reduced the overall ruddiness of the skin tones. Then I increased the recovery to get more detail in the white areas. It was then opened up in Photoshop where I first straightened and cropped it. I removed the distracting background elements and replaced the sky. I patched the blown out areas, softened wrinkles, whitened the teeth and added sparkle to the eyes.
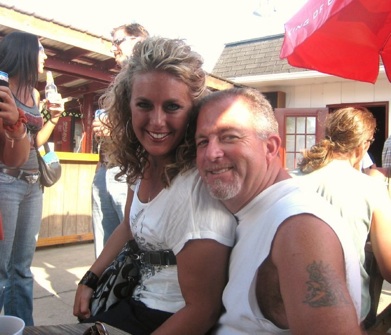
To the left is the original candid photograph. It was a low resolution JPEG with a lot of background clutter.